


Visible glue lines are one of the most common quality issues in edge banding. For furniture manufacturers, they are more than a cosmetic defect. A thick, uneven, or discolored glue line can reduce the perceived value of cabinets, wardrobes, office furniture, kitchen panels, and high-gloss decorative boards.
In many cases, the problem is not caused by one single factor. It is usually the result of panel edge quality, adhesive selection, glue temperature, coating amount, pressure roller setting, feed speed, and post-processing accuracy working together. That is why reducing visible glue lines requires both process control and the right Edge Bander machine configuration.
Visible glue lines can usually be traced back to a combination of substrate preparation, adhesive control, machine adjustment, and finishing accuracy. By improving edge squareness, glue application, pressing stability, scraping, and polishing, manufacturers can achieve cleaner seams while also selecting an Edge Bander machine configuration that matches their panel materials, production speed, and quality requirements.
What Is a Visible Glue Line in Edge Banding?
A visible glue line is the narrow line between the panel surface and the edge banding material. It may appear as a white line, dark line, glossy strip, thick adhesive layer, or uneven seam.
A fine glue line is normal in conventional EVA or PUR edge banding. The issue starts when the line becomes too obvious, inconsistent, discolored, or wide enough to affect the finished appearance.
Visible glue lines are especially noticeable on:
- White and light-colored cabinet panels
- High-gloss furniture boards
- Dark woodgrain panels with light adhesive
- Kitchen and bathroom cabinets
- Premium custom furniture
- Export-grade panel furniture
- Thick PVC, ABS, acrylic, or veneer edge bands
For manufacturers, the goal is not only to hide the glue line after production. The more reliable approach is to control the process so that the adhesive layer is thin, even, strong, and visually compatible with the panel and edge band.
Why Glue Lines Become Visible
A clean edge banding result depends on the accuracy of every stage before and after adhesive application. The following causes are the most common in industrial furniture production.
Uneven or Rough Panel Edges
If the substrate edge is not square, smooth, and clean, the adhesive will fill the gaps left by saw marks, chipping, dust, or uneven cutting. This creates a thicker and more visible glue layer.
This is one reason why pre-milling is important in automatic edge banding. Pre-milling removes minor saw marks and micro-chipping before glue application, creating a flat and consistent surface for bonding.
Excessive Adhesive Application
Too much adhesive does not improve edge banding quality. Instead, it increases squeeze-out, creates a thick seam, and may leave visible residue after trimming and scraping.
The correct glue amount should fully cover the panel edge while remaining as thin as possible. If the bond is strong but the glue line is still too obvious, the coating amount should be checked before changing other parameters.
Incorrect Glue Temperature
Hot melt adhesive must be processed within the temperature range recommended by the adhesive supplier. If the temperature is too low, the glue may not flow properly and the edge band may not close tightly against the panel. If the temperature is too high, the adhesive may become unstable, over-fluid, or discolored.
It is important to check not only the displayed temperature on the control panel, but also the actual glue condition at the application roller or glue nozzle.
Insufficient or Uneven Pressure
Pressure rollers must press the edge band tightly and evenly against the panel while the adhesive is still active. If pressure is too low, the glue layer remains thick and the bond may be weak. If pressure is uneven, the upper and lower glue lines may look different.
The first pressure roller is particularly important because it determines initial contact between the edge band, adhesive, and panel edge.
Feed Speed Does Not Match Adhesive Open Time
The edge band must be pressed before the adhesive cools or loses its working time. If the feed speed is too slow, the glue may begin to set before full compression. If the speed is too high, the adhesive may not spread or wet the surface properly.
Stable feed speed is especially important in high-volume panel furniture production, where consistency matters more than one perfect sample.
Poor Color Matching
Even a thin glue line can become visible if the adhesive color contrasts with the board or edge band. White panels, black panels, high-gloss finishes, and natural woodgrain surfaces require careful adhesive selection.
Color-matched glue, transparent adhesive, PUR hot melt, or zero-joint technology can significantly improve the visual result depending on the product grade.
Inaccurate Trimming, Scraping, or Buffing
A glue line may look worse after edge banding if the trimming and scraping units are not correctly adjusted. Dull cutters, incorrect scraper depth, or weak buffing can leave adhesive residue, white marks, tool lines, or uneven edges.
A complete edge banding process should include not only gluing and pressing, but also precise finishing.
Process Control for Reducing Visible Glue Lines
Visible glue lines should not be treated as a finishing defect only. In most production environments, they are a sign that the entire edge banding process needs to be balanced. Substrate preparation, adhesive behavior, pressure timing, feed stability, and finishing accuracy all influence how clean the final joint appears.
1. Start with a Stable Substrate Edge
A clean glue line begins with a clean panel edge. If the substrate edge is rough, chipped, dusty, or slightly out of square, the adhesive will fill the uneven areas and create a wider visual seam.
Production teams should check:
- Edge squareness after cutting
- Saw marks or micro-chipping
- Dust or loose fibers on MDF, particle board, or plywood
- Panel stability against the guide fence
- Pre-milling cutter condition
- Panel moisture and storage condition
Pre-milling is not simply an optional finishing step. For factories that want repeatable edge quality, it is one of the most effective ways to reduce glue line variation before adhesive is applied.
2. Match Adhesive to the Product Standard
The adhesive should match the panel material, edge band type, product application, and expected finish level. EVA hot melt is practical for standard furniture, while PUR, transparent adhesive, laser, or hot-air zero-joint solutions are more suitable for premium surfaces and demanding applications.
Production teams should check:
- Adhesive type: EVA, PUR, transparent hot melt, laser, or hot-air
- Adhesive color compatibility
- Edge band material and thickness
- Heat and moisture resistance requirements
- Product application: cabinet, kitchen, bathroom, office furniture, or export furniture
- Compatibility with the Edge Bander machine
For white, black, high-gloss, and matte panels, the adhesive should be tested visually before batch production. A technically strong bond can still look unacceptable if the glue color contrasts with the surface.
3. Keep Glue Application Thin but Complete
The correct glue amount is not the maximum amount the machine can apply. It is the thinnest stable layer that fully covers the substrate edge and still passes bonding tests.
Production teams should check:
- Glue roller gap or application setting
- Adhesive transfer on the panel edge
- Squeeze-out after pressure rolling
- Glue line width on the top and bottom edges
- Bonding strength after cooling
- Glue consumption during continuous production
If the glue line is thick but the bonding is strong, reduce the coating amount gradually. If gaps or peeling appear, the issue may be insufficient glue, poor pressure, low temperature, or a rough substrate edge.
4. Control the Real Working Temperature
Temperature control should focus on the actual bonding point, not only the value shown on the machine display. The glue pot, glue roller, panel edge, edge band, and workshop environment all affect adhesive performance.
Production teams should check:
- Adhesive supplier’s recommended temperature range
- Glue pot temperature
- Glue roller or application temperature
- Standby temperature during breaks
- Glue aging or carbonization
- Workshop, panel, and edge band temperature
Cold panels and cold edge banding rolls shorten the adhesive working window. In winter or low-temperature workshops, material conditioning or preheating can improve glue flow, pressure transfer, and seam consistency.
5. Set Pressure for Joint Closure, Not Force Alone
Pressure rollers should close the joint evenly while the adhesive is still active. Too little pressure leaves a thick glue layer; too much pressure can deform the edge band or force out excessive adhesive.
Production teams should check:
- First pressure roller position
- Roller angle and alignment
- Roller cleanliness and wear
- Compression setting for different edge band thicknesses
- Edge band movement during pressing
- Consistency between upper and lower glue lines
The first pressure roller is the critical point. It determines whether the adhesive spreads into a thin, controlled bond line or remains as a visible layer between the panel and edge band.
6. Balance Feed Speed with Adhesive Open Time
Feed speed affects how long the adhesive remains workable before pressure is applied. If the process is too slow, the adhesive may cool too early. If the process is too fast, glue transfer or pressing may become unstable.
Production teams should check:
- Recommended feed speed for the adhesive
- Adhesive open time
- Panel and edge band temperature
- Bonding strength after cooling
- Glue line consistency during continuous runs
- Machine stability at the selected speed
For industrial production, the best setting is not the one that creates a clean sample once. It is the setting that keeps the same seam quality across long batches.
7. Use Finishing Units to Refine, Not Repair
Trimming, scraping, and buffing should refine an already well-bonded edge. They should not be used to hide excessive glue, poor pressure, or an uneven substrate edge.
Production teams should check:
- Rough trimming accuracy
- Fine trimming position
- Cutter sharpness
- Radius scraper setting
- Flat scraper setting near the glue line
- Buffing wheel pressure and condition
- Remaining adhesive residue after finishing
If the finishing section needs heavy correction, the root cause is usually earlier in the process. Check glue amount, substrate quality, pressure, and temperature before increasing scraper depth.
8. Record Settings for Repeatable Quality
Once the edge quality is stable, the Edge Bander machine settings should be recorded. This is especially important for factories that frequently switch between different panel colors, edge band thicknesses, adhesives, or furniture product lines.
Production teams should record:
- Panel type and thickness
- Edge band material and thickness
- Adhesive type and color
- Glue temperature setting
- Glue application amount
- Feed speed
- Pressure roller setting
- Scraping and buffing settings
- Final visual inspection result
Consistent edge quality comes from repeatable settings, not operator guesswork. A well-documented process helps reduce rework, shorten setup time, and maintain cleaner glue lines across different production orders.
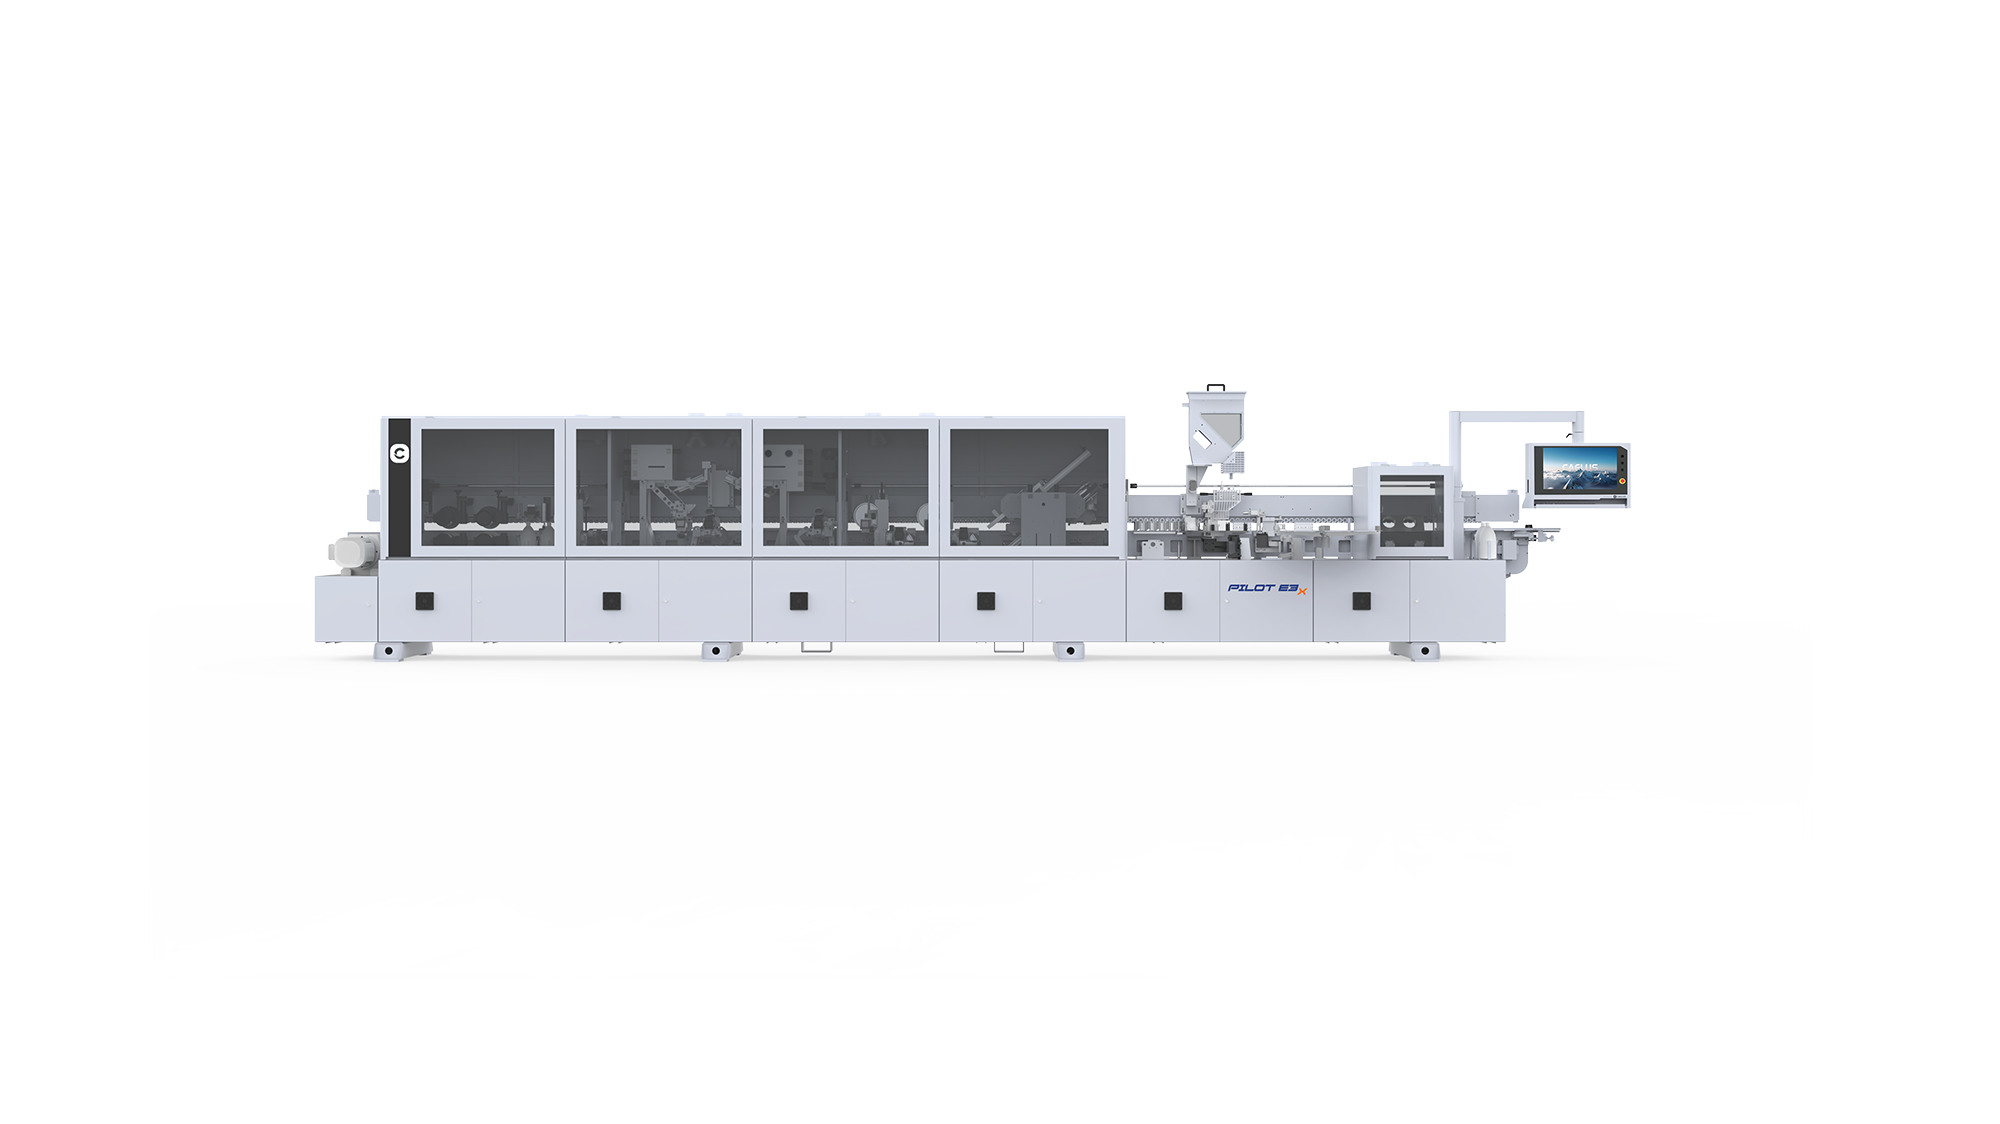
Edge Bander Pilot E3x Intelligent Narrow-Normal Parts
Machine Configuration Matters: What to Look for in an Edge Bander Machine
A well-adjusted process can improve glue line quality, but Edge Bander machine configuration determines how consistently that quality can be repeated.
For manufacturers focused on reducing visible glue lines, the following machine features are especially important.
1. Pre-Milling Unit:
Pre-milling creates a clean, square edge before gluing. It is particularly valuable for panels that come from cutting, nesting, or saw lines with small chips or irregularities.
2. Precision Gluing System:
A stable gluing system helps control adhesive amount, temperature, and application consistency. This directly affects glue line thickness and bonding quality.
3. EVA, PUR, and Optional Laser Compatibility:
Factories serving different product levels may need more than one edge banding process. A machine that supports EVA, PUR, and optional laser edging gives manufacturers greater flexibility in product positioning.
4. Stable Pressure System:
The pressure section should close the joint evenly and adapt to different edge band thicknesses. Consistent pressure reduces thick glue lines, weak bonding, and edge band movement.
5. Intelligent Positioning:
Automatic or intelligent positioning helps reduce manual adjustment errors, especially when switching between panel thicknesses or edge band materials.
6. Accurate Trimming and Scraping:
The finishing section should remove excess material and adhesive residue without damaging the panel surface or edge band. Fine trimming, radius scraping, flat scraping, buffing, and polishing all contribute to the final appearance.
7.High-Rigidity Frame and Stable Feeding:
A rigid frame, stable guide system, and accurate feed mechanism help maintain consistent machining quality at higher production speeds. This matters in factories where quality must remain stable during continuous production.
How Caelus Edge Bander Machines Help Improve Edge Quality
Caelus Edge Bander machines are designed for modern panel furniture production, including cabinets, wardrobes, office furniture, and custom furniture manufacturing. The Edge Bander equipment integrates multiple edge processing steps, including pre-milling, gluing, pressing, trimming, scraping, and polishing.
For manufacturers aiming to reduce visible glue lines, Caelus offers several practical advantages:
- Pre-milling support for cleaner substrate edges
- EVA, PUR, and optional laser edge banding solutions
- Precision glue control for stable adhesive application
- Strong pressure structure for consistent bonding
- Intelligent adjustment to reduce manual setup errors
- Trimming, scraping, and polishing units for cleaner finishing
- High-rigidity frame design for stable long-term production
- Flexible configurations for different production capacities
For high-speed production, the Caelus Aurora E8 series is designed with servo positioning, multi-slot edge feeding, stable high-speed processing, intelligent trimming and scraping, and compatibility with EVA, PUR, and optional laser edging. This makes it suitable for manufacturers that require both production efficiency and premium edge quality.
Conclusion
Visible glue lines are best reduced by controlling the full edge banding process, not one setting alone. Start with a square, clean substrate edge, choose the right adhesive, keep glue temperature stable, apply a thin but complete glue layer, and set pressure and feed speed correctly. Accurate scraping and buffing then refine the seam. For cabinets, wardrobes, kitchen panels, and high-gloss furniture, the right Edge Bander machine delivers cleaner joints, stronger bonding, and repeatable quality.
FAQ
Q1. Why are glue lines visible after edge banding?
A: Glue lines usually become visible because of rough panel edges, too much adhesive, incorrect glue temperature, weak pressure, poor color matching, or inaccurate scraping and buffing. In production, the problem is rarely caused by one setting alone. The full edge banding process should be checked step by step.
Q2. How do you reduce glue lines in edge banding?
A: Start by preparing a square and clean substrate edge. Then adjust adhesive type, glue amount, temperature, pressure rollers, and feed speed. After bonding, use accurate trimming, scraping, and buffing to remove residue and refine the seam.
Q3. What causes edge banding not to stick properly?
A: Poor adhesion is often related to low glue temperature, cold panels, insufficient pressure, dust on the substrate edge, wrong adhesive type, or feed speed that does not match the adhesive open time. The actual glue condition at the application point should be checked, not only the display temperature.
Q4. Is PUR better than EVA for reducing visible glue lines?
A: PUR is often better for premium furniture, kitchen cabinets, bathroom furniture, and export-grade panels because it can create a thinner, stronger, and more moisture-resistant bond line. EVA is still suitable for standard furniture production when cost control and easy operation are priorities.
Q5. Does pre-milling help reduce glue lines?
A: Yes. Pre-milling removes saw marks, small chips, and uneven cutting lines before glue application. A cleaner substrate edge allows the adhesive layer to stay thinner and more even, which helps reduce visible glue lines.